Part of my apprehension is that I don't want just a pile of kitchen scraps sitting in my backyard. Eleanor plays out there and any 2-year-old worth her shit would immediately be drawn to the large pile of garbage in the corner. Plus, and this is a totally irrational fear, I'm afraid of the compost pile catching fire. Don't laugh, I've heard of it happening. During decomposition, a compost pile can reach up to 150° in the center, and given how dry it gets here in North County in the summer, I really don't relish the idea of inadvertently setting the neighborhood ablaze. So, in order to compost and not turn into a quivering ball of nerves during a dry spell, I would need to do my composting in a bin.
Which leads me to my next point. Compost bins are expensive. Seriously. If you want a decent size bin (more than a couple of gallons), you're looking at more than $50. And if you want one of the nicer ones that turn, you'll be shelling out upwards of $100. And some of the really fancy ones will run you as much as $500 or more. It seems rather excessive to turn garbage into dirt, doesn't it? Plus, we're broke, which is why I classify $50 as expensive.
So, I set off to figure out how to compost for cheap.
After a quick Google search, I found numerous articles and YouTube videos on using a garbage can as a compost bin and I was intrigued. This, I thought to myself, is something I could do. And that's what I setting out to do and I'm taking you along for the ride, whether you want to come or not. Plus, you get to see me use power tools. Well, a drill anyway. It'll be a hoot, I promise.
Everything I read recommended that you use at least a minimum of a 32-gallon garbage can. You know, one of the standard ones that you probably use at your house. It doesn't have to be anything fancy, but if you can get one where the lid locks on, so much the better. The cheapest one I found was at Walmart for around $13. Fortunately for me, we happen to have a spare garbage can for some reason. It's missing the lid, but I'm going to steal the one from our yard waste can, since now that we'll be composting, we won't need to put yard waste out at the curb anymore. So, yay for me for saving $13. Every little bit helps, right?
Bright and early yesterday morning, I went traipsing out to the side of the garage where the garbage cans are, fully intending to grab the spare can and lid, rinse everything out and get started on building this thing. Plans changed rather abruptly when I took off the lid of the yard waste can and found that not only was it still half full of grass clippings (score!), but a lovely Black Widow spider had taken up residence in it and was standing guard over a few egg sacs.
Being the severely arachnophobic person that I am, I ran like hell. I did not stop to take pictures to show you, dear readers, since I'm fairly certain that bitch hissed at me. Less than 20 minutes later and with a very pronounced facial twitch, I returned to the Death Trap garbage can, armed with a pot of boiling water, which was promptly dumped onto the spider and the lid put back on the can. I did not stick around to witness the aftermath, so I was unsure if my method worked or if she just scurried under the clippings. Taking no chances, I went back out a few hours later and repeated the boiling water treatment, making sure I got the egg sacs this time. All I need is a billion baby Black Widows running around, right? I saw no evidence of Madam herself, so I grabbed the lid and the empty can and got to work.
Now, in order to decompose, your compost will need air. Most articles I saw recommended a 2-3 inch drill bit (saw bit?), other sources said 1/2 inch bit would work. We don't have anything bigger than a 1/2 inch bit, so I used that. After thoroughly rinsing out the can (and smashing a rouge spider that charged me), I put the holes on the sides of the garbage can as well as the lid and the bottom. It took all of about 5 minutes. Note: If you do use a larger drill bit or a big saw bit, you'll want to cover the holes with window screen material and either epoxy or duct tape it in place. You don't want your compost falling out all over the place.
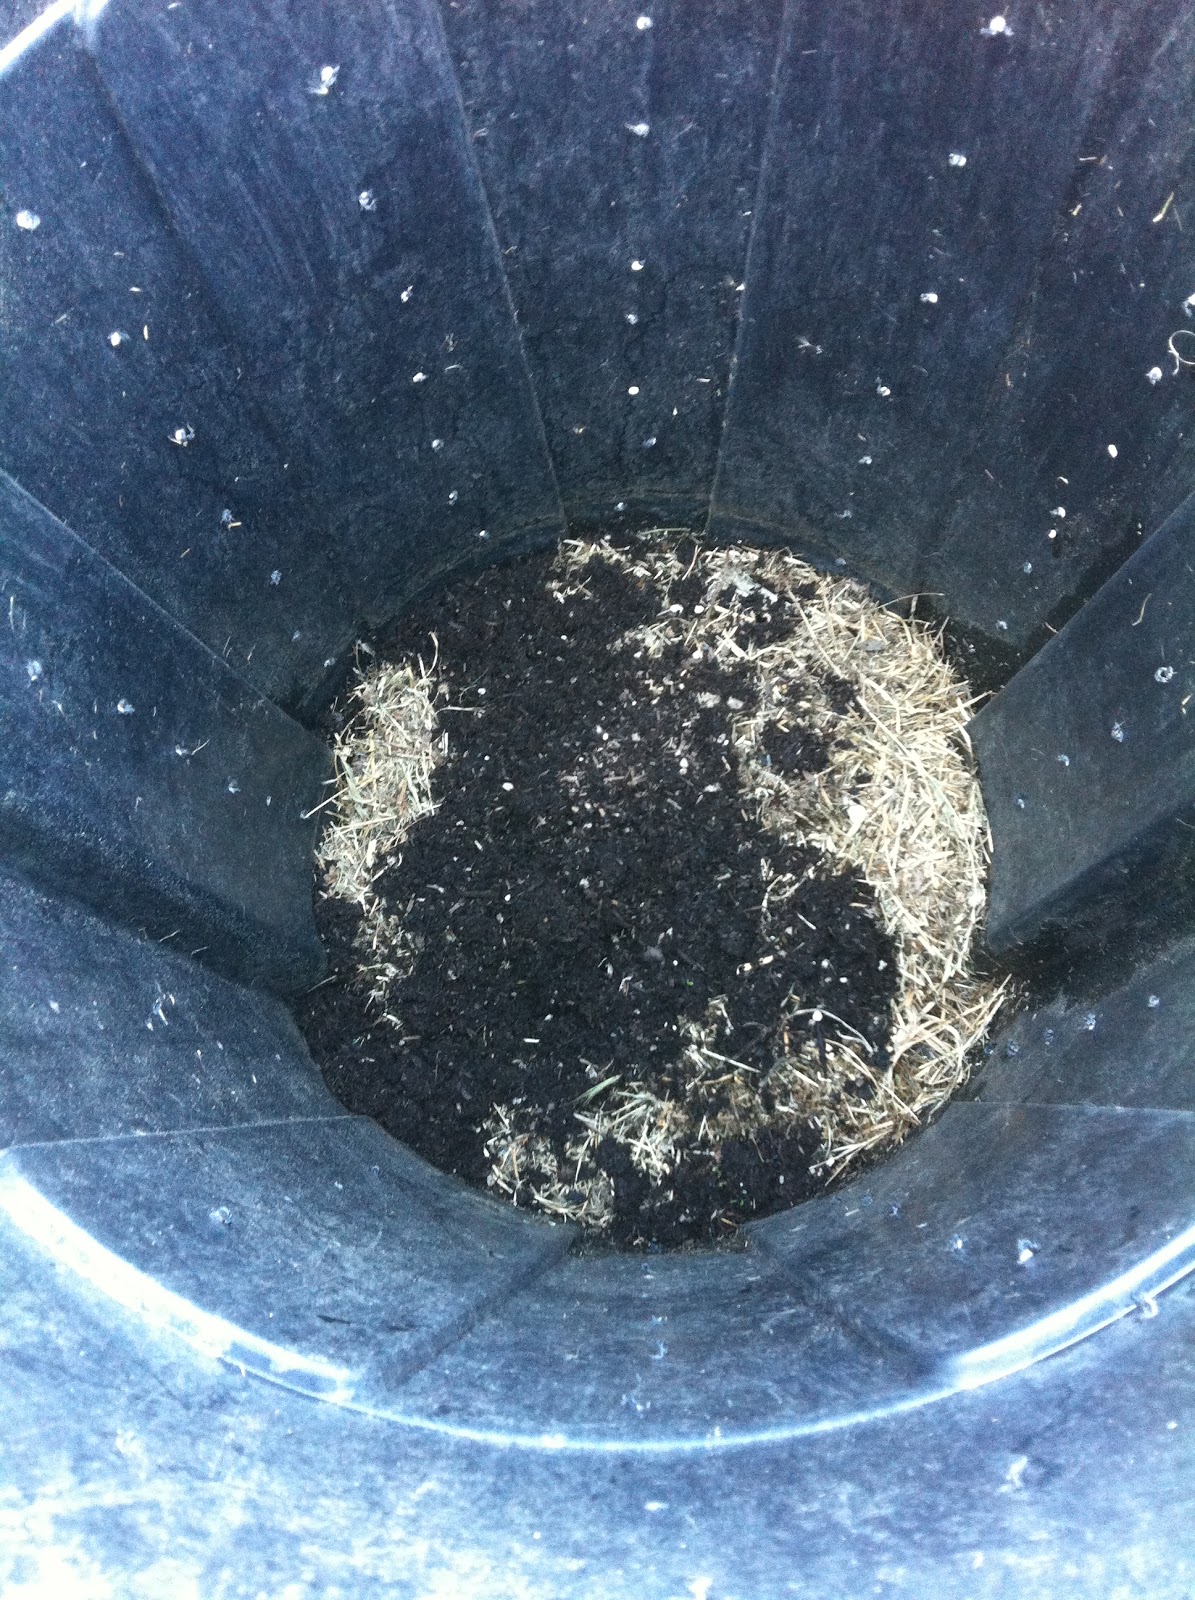
Once that was done, I tossed in some of the Black Widow grass clippings and a few handfuls of gardening soil (helpful bacteria, ya know). I would have added more grass clippings, but upon digging into the clipping can, I came across some old cigarette butts and I don't particularly relish adding nicotine to my compost. I also added my first bowl of kitchen scraps, which consisted of a banana peel, the coffee grounds and filter from this morning, the peel off a clementine, half a lemon I found lurking in the back of the fridge, a moldy cucumber, apple core and peel, and a bunch of fresh rosemary that was in the fridge from quite a while ago and was starting to look sad. I tossed all that crap in, added some water and called it done. I snapped the lid back on, laid the can on its side and rolled it around a few times to make sure everything was mixed up well. I'll be adding more stuff to the bin every day and turning and watering it a few times a week and in a few weeks, we should start to see some lovely compost. Or, it just may be a big can of goo. It should be fun to see what happens, right?
So, for the pictures. Please ignore my horribly overgrown and messy backyard. Our garage door is currently broken and we can't get the lawn mower out right now.
 |
| Holes in the lid |
 |
| Here you can see the holes I made in the can. |
 |
| Grass clippings and garden soil |
 |
| First batch of kitchen scraps |
 |
| Everything together |
 |
| Composting can, out by the back fence. |
I'm going to end this post here, as it's getting long and what we're going to talk about next is going to take some time. So, get your ass out there, build yourself a compost bin, and then come back and I'll tell you what to put in it. There'll be, you know, science and math and other fun shit like that.
Toodles!
No comments:
Post a Comment